In this article, we’ll elucidate the process of Windows operating system installation on VMware Workstation or VMware Workstation Player via PXE boot. VMware Workstation/Player offers various guest operating system installation methods, including:
Installation Choices:
- DVD Installation Media: Employ this selection to install a guest operating system via physical DVD installation media;
- ISO Image File: Opt for this choice to install a guest operating system using an ISO image file;
- Deferred OS Installation: Select this alternative to postpone the installation decision, often utilized for network-based installations via PXE boot.
What is PXE Boot
PXE Boot, an acronym for Preboot Execution Environment Boot, represents a network protocol and standard that revolutionizes the way computers and virtual machines initiate the boot process and install operating systems. Rather than relying on traditional local storage media like hard drives or DVDs, PXE Boot leverages network connectivity to streamline and automate OS deployments. This technology holds immense value in both enterprise and virtualization environments, as it ushers in a new era of efficiency.
During a PXE Boot operation, a client device, be it a computer or virtual machine, establishes communication with a DHCP (Dynamic Host Configuration Protocol) server. Through this interaction, it acquires essential network configuration details and crucial information regarding the location of a PXE server. Often, this PXE server runs Windows Deployment Services (WDS), acting as a central repository for the necessary files required for the operating system installation. This approach facilitates remote and centralized management, allowing organizations to efficiently provision and maintain a multitude of computers and virtual machines. In essence, PXE Boot has become an indispensable cornerstone of modern IT infrastructure.
Step-by-Step: VMware VM Installation Using PXE Boot
To successfully deploy a VMware virtual machine utilizing the PXE LAN boot option, a series of essential steps must be executed. This process ensures the seamless installation and configuration of your virtual machine. Here’s an expanded overview of these steps:
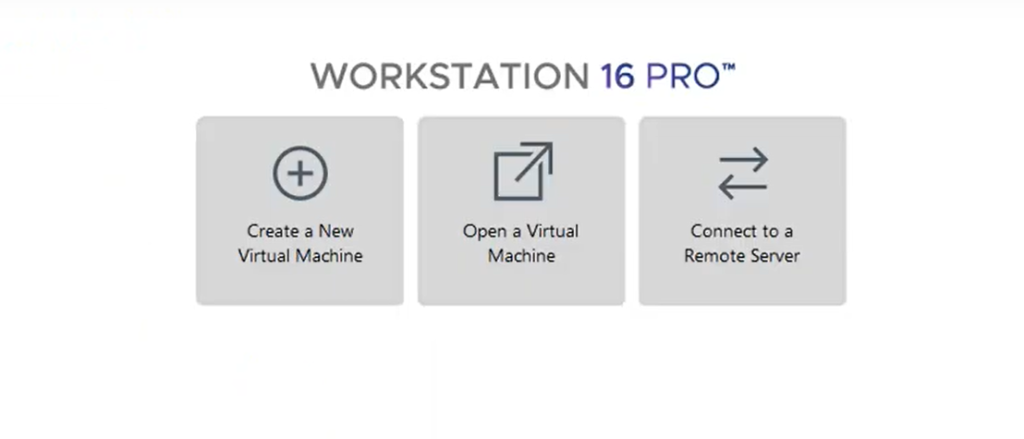
1. Launch the VMware Workstation/Player console and click on “Create a New Virtual Machine.”;

2. Select Installation Method: In the New Virtual Machine Wizard, choose the “I will install the operating system later” option and proceed to the next step. This choice allows you to prepare the virtual machine for OS installation without initiating it immediately;
3. Specify Guest OS Details: On the “Select a Guest Operating System” page, specify that you intend to install Microsoft Windows. Additionally, choose the appropriate Windows edition from the Version drop-down list. This ensures that the virtual machine’s settings are aligned with the Windows OS you plan to install;
4. Name and Location: Moving forward to the “Name the Virtual Machine” page, provide a name for your virtual machine and specify the location where it will be stored. These details help organize your virtual machines effectively;
5. Disk Configuration: On the “Specify Disk Capacity” page, determine the disk capacity for your virtual machine. This step is crucial for allocating sufficient storage space to accommodate the OS and associated files;
6. Customize Hardware Settings: After progressing to the “Ready to Create Virtual Machine” page, take the opportunity to customize hardware settings by clicking “Customize Hardware.” Here, you can configure network settings by connecting the virtual machine to a virtual switch that provides access to the Windows Deployment Services (WDS) server;
7. Power On and PXE Boot: Close the “Create a new virtual machine” wizard and power on the virtual machine. At this point, you should observe the virtual machine initiating the PXE boot option, which indicates it’s attempting to boot from the network;
Note: If there are connectivity issues between the virtual machine and the WDS server, ensure that both are properly connected and accessible.
8. Initiate Network-Based Installation: To commence the network-based installation, press the F12 key as prompted. In the event of a PXE boot aborted message, reset the virtual machine and try again. This action triggers the loading of Windows installation files from the WDS server, beginning the installation process;
9. Domain Credentials: Provide the necessary domain credentials when prompted. This step allows the virtual machine to authenticate and proceed with the installation on the Windows Deployment Services Setup page;
10. Standard Installation: From this point onward, the installation process mirrors what you would experience when using local installation media. Follow the standard Windows installation procedures to configure settings, specify preferences, and complete the installation of the operating system.
Conclusion
This article has guided readers through the process of Windows OS installation on VMware Workstation or VMware Workstation Player using the PXE boot method. It emphasized the versatility of VMware tools for guest OS installation, including DVD and ISO options, and highlighted the significance of PXE boot in streamlining network-based OS deployments. The step-by-step instructions offered a clear path to efficiently deploy virtual machines, underscoring the role of PXE boot as a vital tool for modern IT infrastructure, allowing for centralized management and automation in provisioning and maintaining systems.
