Virtual machines (VMs) have become an integral part of IT infrastructure. Regardless of whether you’re using VMs for development, testing, or running specific applications, connecting them to the internet is often a crucial requirement.
In this guide, we will walk through the steps to connect a VM to the internet, allowing you to access network resources, perform updates, and communicate with the external world. Whether you’re using VMware, VirtualBox, Hyper-V, or another virtualization platform, the fundamental steps remain quite similar.
Step 1: Launch Your Virtual Machine
Start by opening your virtualization software and launching the VM that needs to be connected to the internet. Ensure that the VM is powered on and running.
Step 2: Check Network Settings
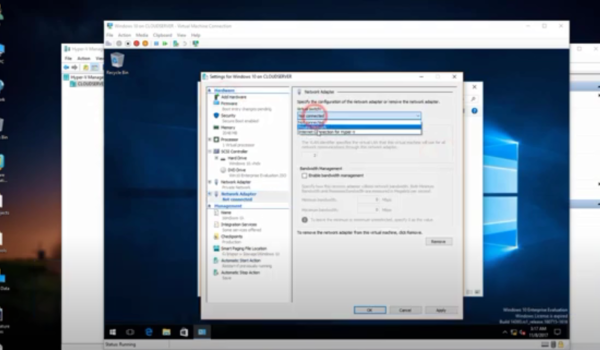
Before connecting to the internet, you need to configure the network settings of the VM. Most virtualization platforms offer various network adapter options, including bridged, NAT (Network Address Translation), and host-only.
- Bridged: In this mode, the VM gets direct access to the physical network, much like any other device on the network. It obtains its own IP address from the router or DHCP server;
- NAT: NAT mode shares the host’s IP address and allows the VM to access the internet through the host’s network connection. This is a good choice for simple setups;
- Host-Only: In this mode, the VM can only interact with the host and other VMs within the same network.
Choose the network mode that suits your requirements. NAT or bridged modes are usually best for internet access.
Step 3: Configure the Network Adapter
After selecting the network mode, go to the VM settings and configure the adapter accordingly. For instance, in NAT mode, you might need to specify that the VM should use NAT. If using bridged mode, ensure it’s connected to the appropriate physical adapter.
Step 4: Start the VM
After configuring the parameters, start the VM. It should now have the capability to connect to the internet.
Step 5: Check Connectivity
Within the VM, open a web browser or any other internet-dependent application and check if you can access websites or online resources. If everything is set up correctly, internet access should be established.
Step 6: Install Virtual Machine Tools (Optional)
Some virtualization platforms offer tools or drivers that enhance integration between the host and guest operating systems. Installing these tools can improve performance and enable features like seamless mouse integration and file sharing.
For detailed information on installing these tools, consult the documentation provided by your virtualization software.
Step 7: Configure Firewall Settings
If the VM has a firewall enabled, ensure that it allows internet access. Configure the firewall rules to allow outgoing connections, which are typically necessary for browsing web pages and using online services.
Step 8: Keep Software Updated
When connecting a VM to the internet, security measures should be kept in mind. Install antivirus software and keep it updated regularly, use strong passwords, and consider setting up a VM firewall for added protection.
Conclusion
Congratulations! You have successfully connected your VM to the internet. With proper settings and some precautions in place, a VM can access network resources and perform tasks just like a physical machine.
Enjoy the benefits of a fully connected virtual environment, whether it’s for development, testing, or any other tasks.
